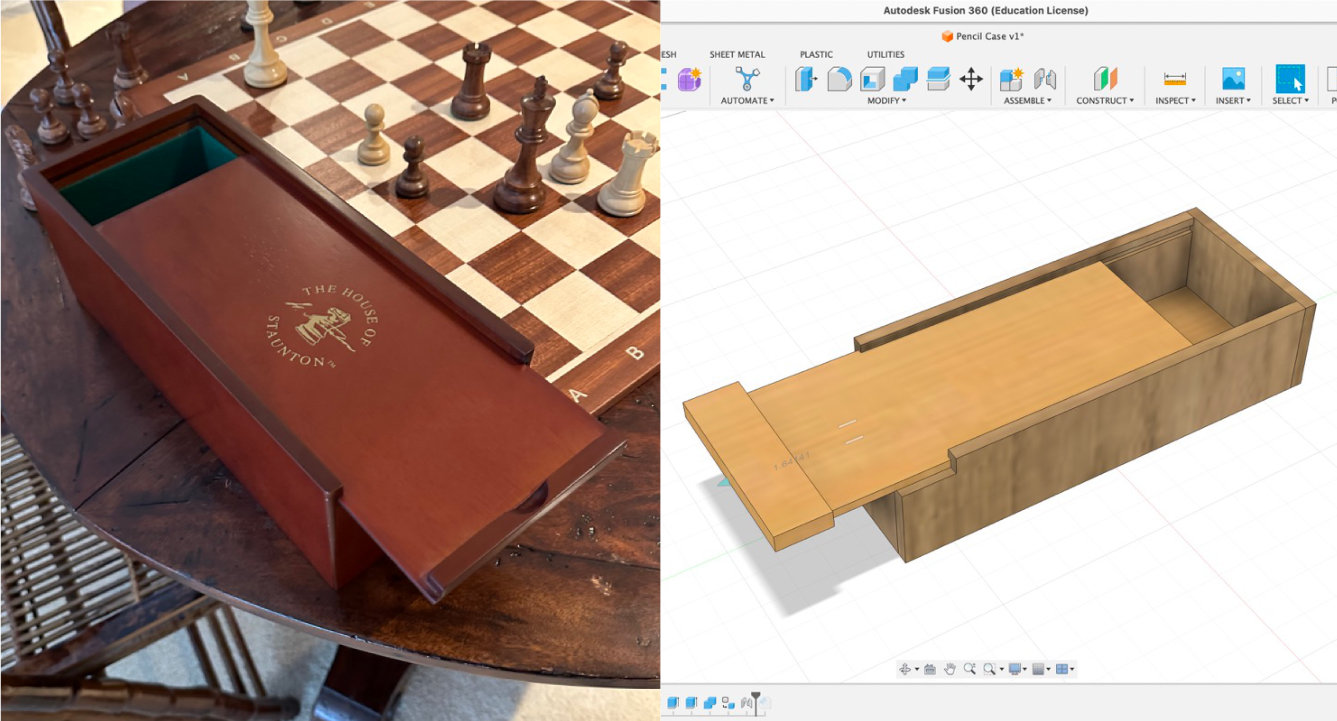
As a fun summer project, I wanted to make something beautiful that I would use every day. I sketched initial ideas, mocked them up in Fusion360, and created a scrap wood pencil box using Ithaca Generator’s woodshop with tools like the table saw, scroll saw, planer, and chisel. It turned out amazing!
During the couple weeks I had at home between the end of school and the start of my research internship back at Cornell, I binged a ridiculous number of woodworking videos on YouTube, learning about shelves, desks, guitars, and all the fun tools in a woodshop. Then I decided I wanted to try building something of my own.
But that required a woodshop.
While the Cornell architecture school likely had most of the tools relevant to woodworking projects (the makerspace here doesn’t for some reason), I doubted that they would let a non-major use them over the summer. I didn’t expect there to be an actual woodshop in Ithaca, but a Reddit post I found after a bit of Googling pointed me to Ithaca Generator, a makerspace with a woodshop, metal shop, printing press, clay/pottery setup, and a nice community of Ithaca locals!
Upon arriving in Ithaca, I went to one of their Show What You Made nights, where I met a lot of interesting and helpful people working on cool projects like drones and automated flipbooks. Paul, the woodworking area captain and my mentor for my first project, gave me a tour of the space and later trained me in basic tool safety (especially with the table saw) and cleanup. My first project was a tray to separate my clean and dirty resuable masks so that I could have something aesthetic instead of the oversized plastic bins currently serving that purpose.
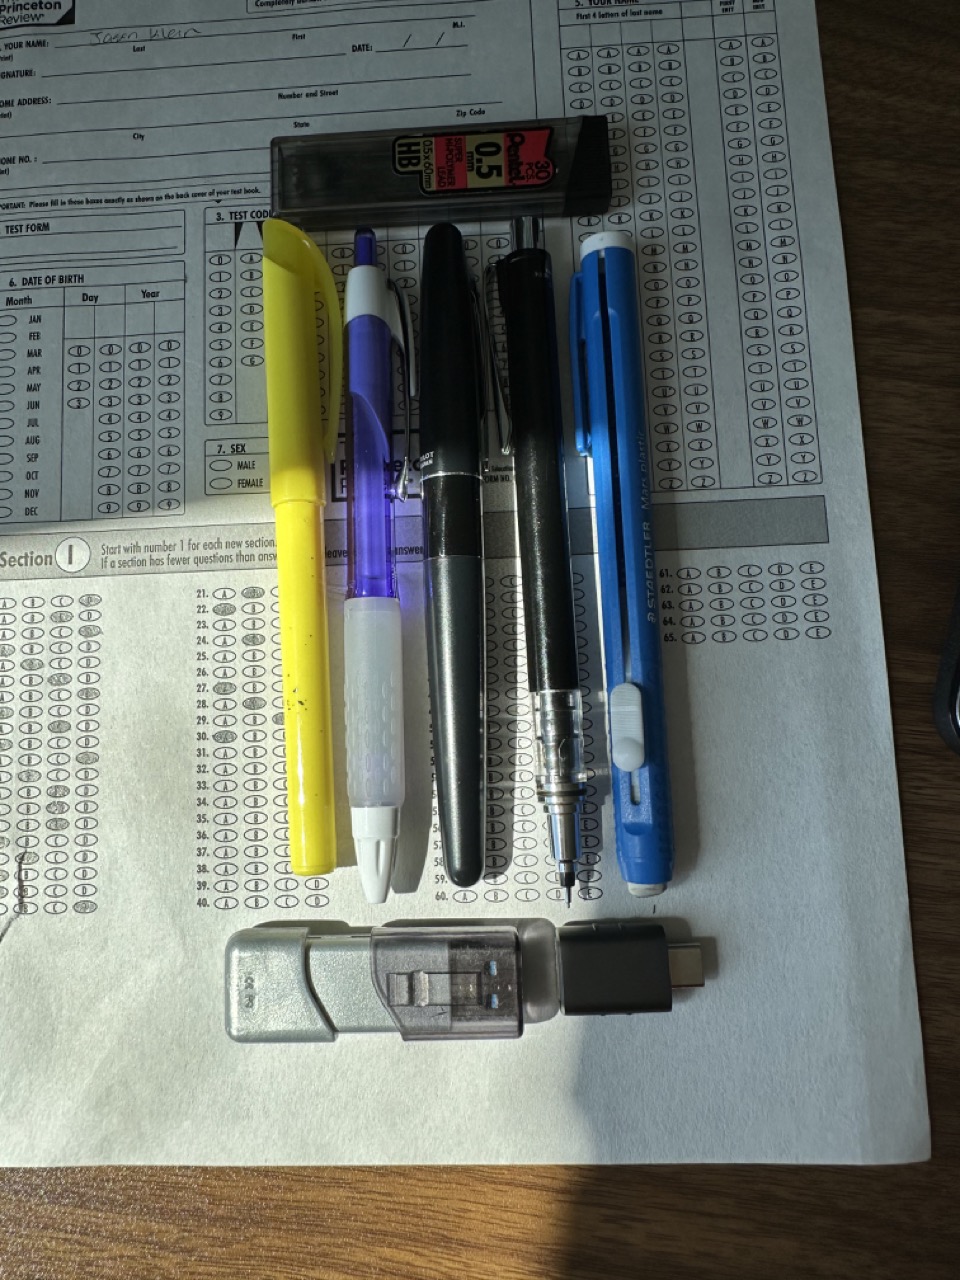
For my next project, I wanted to make something pretty yet practical that I would use every day: a pencil box! My original plan was inspired by my fountain pen’s case (which I managed to lose while moving out of my apartment a month or two later oops), where each of the writing implements is friction-fit into dense EVA foam and everything has its own place. I also sketched a couple other options, but forgot to snap pictures of those before losing the scrap paper :(
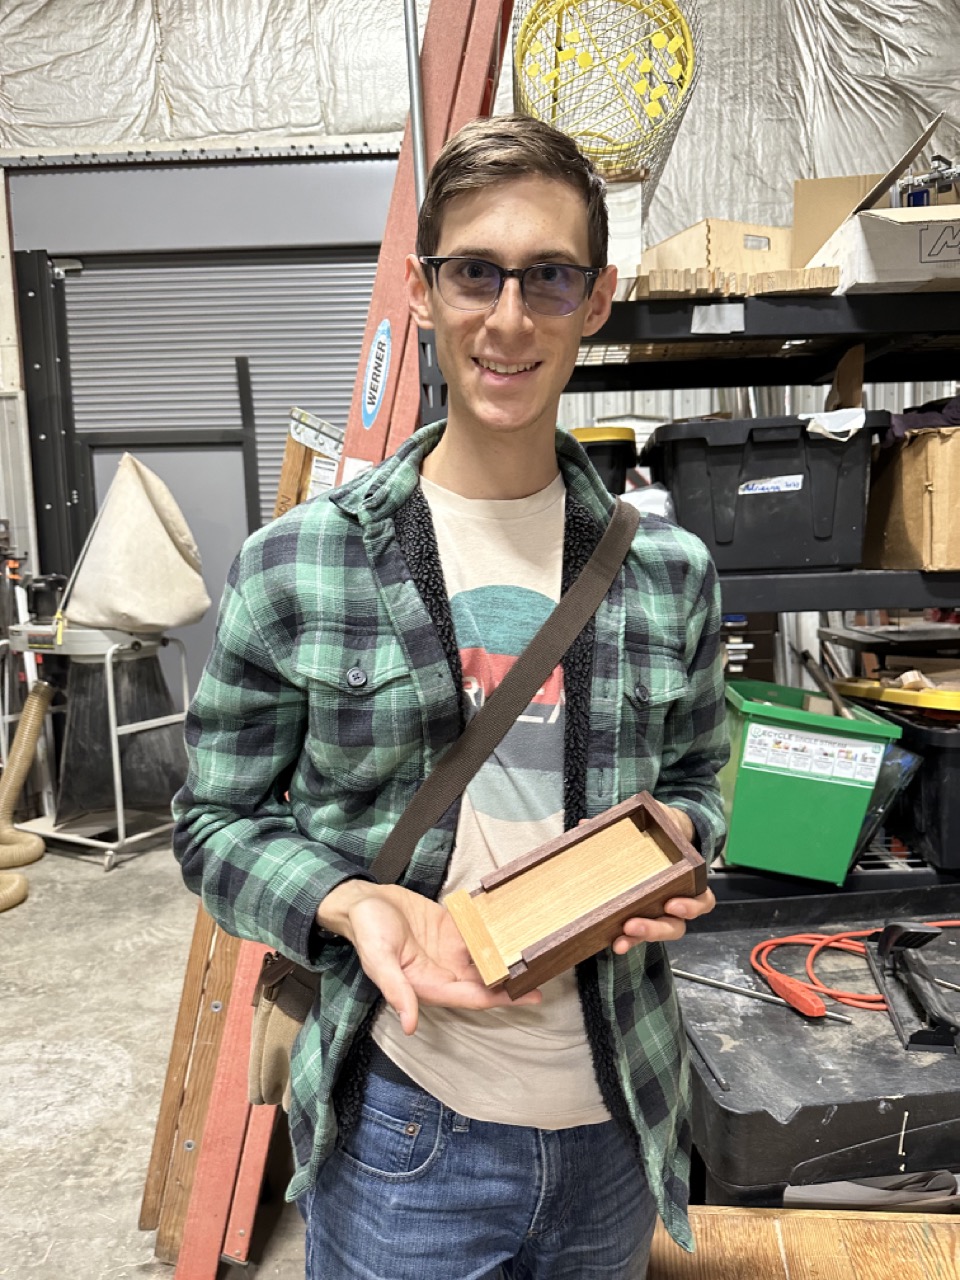
The final design was inspired by the case for a chess set we have at home, where a slab of wood slides in and out through grooves in the sides in order to open and close the box. To cut these grooves out of the wood, I used the table saw with the blade lowered to the depth of the groove and lined up the cut really precisely. I also ensured the grooves were perfectly aligned by cutting them out of the big piece of scrap wood before dividing the wood into pieces for each side. The small but critical manufacturing details like these made the seemingly-simple project quite interesting to me!
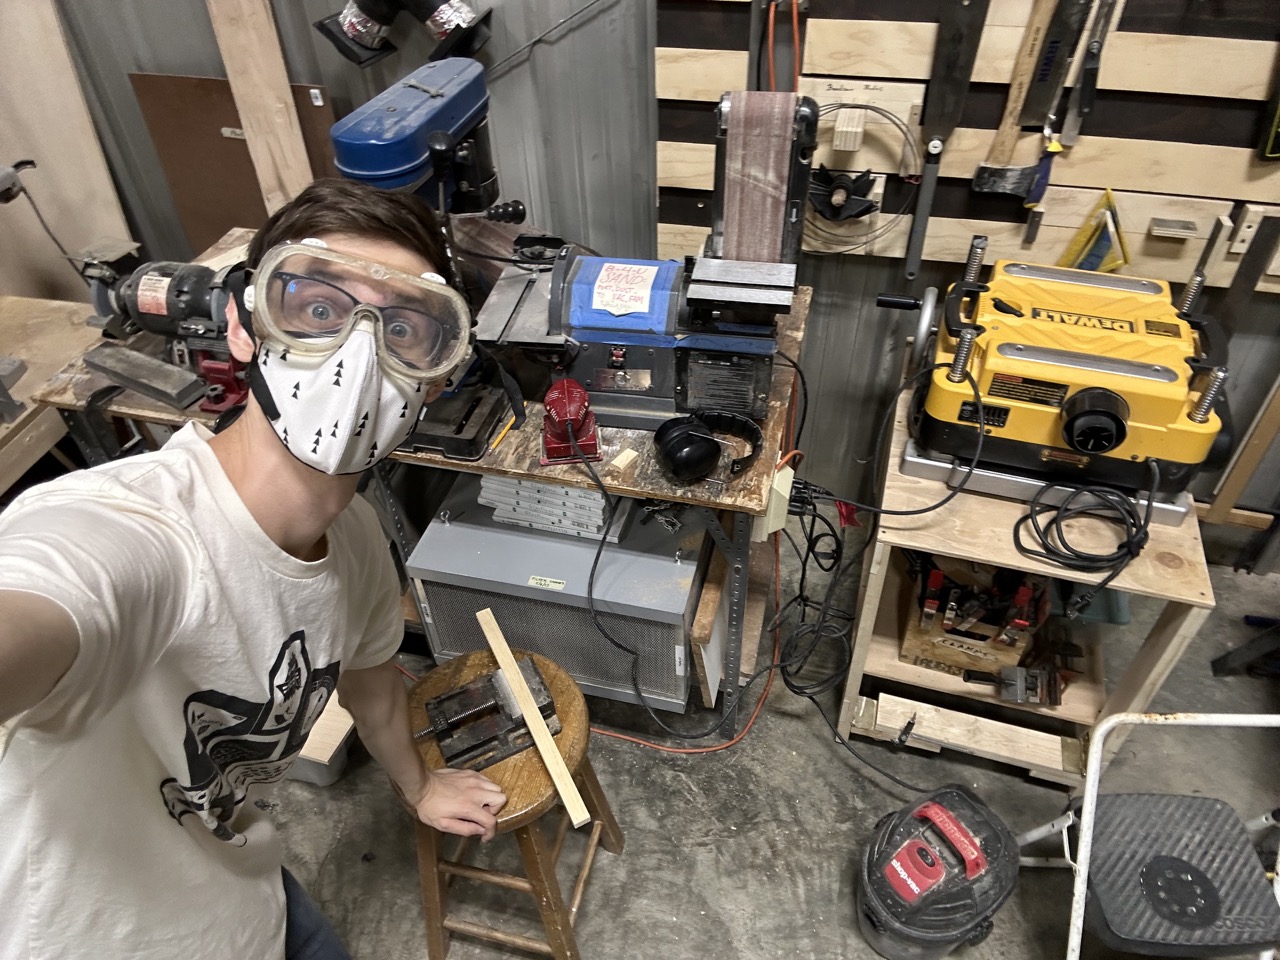
I picked some walnut and pine (I think) scrap wood pieces from the scrap cart in the corner of the shop and got to work on the planer and table saw. I accidentally planed the outer walls to be 3/8” thick instead of 3/16” like I had in my CAD designs (reading rulers is difficult sometimes), so I had to adjust the rest of the dimensions on-the-fly. That being said, I think I prefer the thicker walls over the thin ones I originally planned!
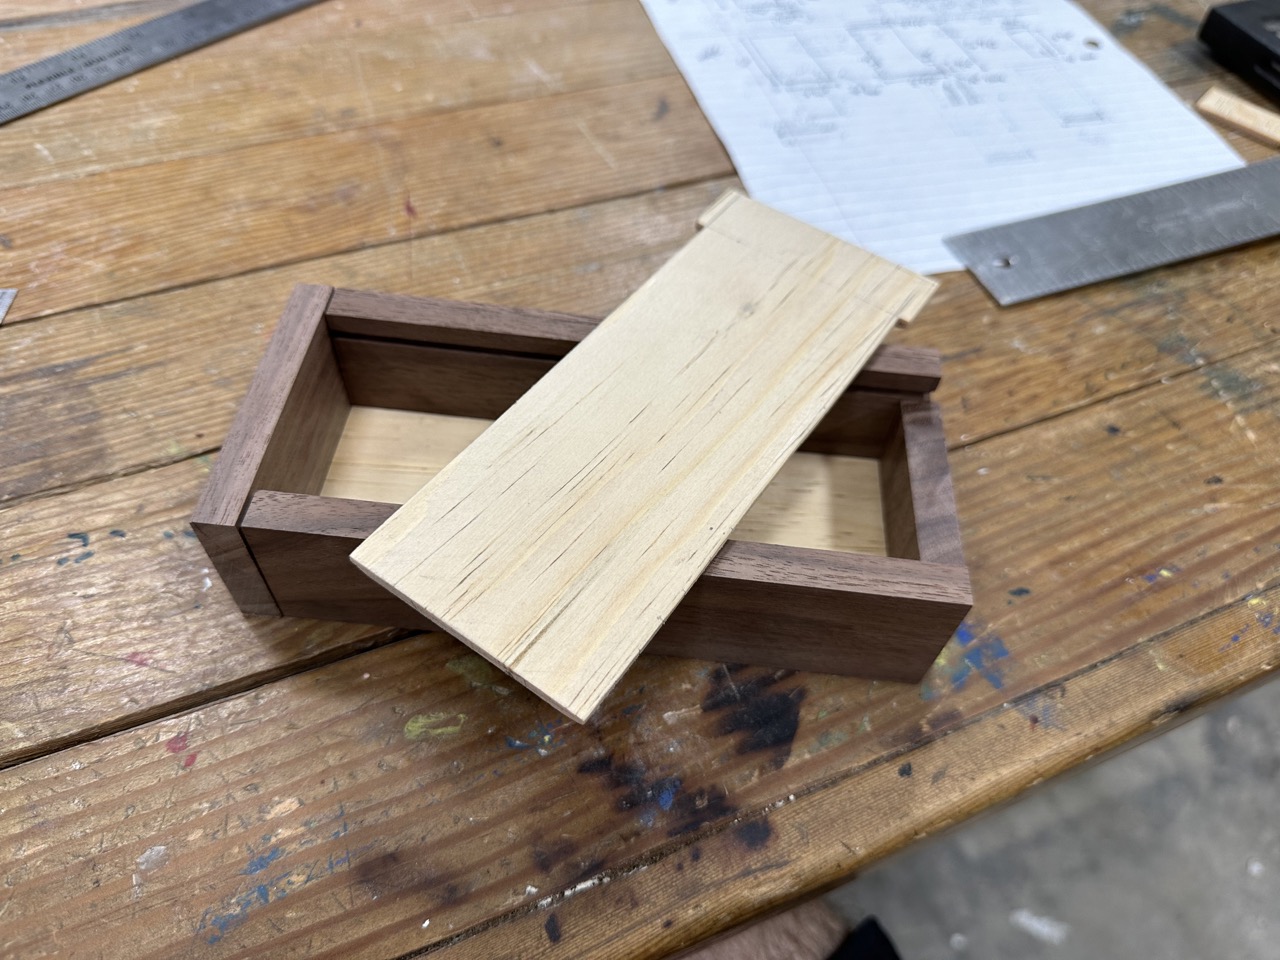
Since I also didn’t plane the slide-out component thick enough, I decided to completely redo it instead of continuing with the jank fix of sanded edges. I was particularly against continuing with the sanded edges because I realized that they would need to be exposed on the top in order to slide in properly. However, at this point I had run out of the original pine (I think) wood that I used, and couldn’t find another one like it in the scrap pile! I picked one that looked relatively similar, but even now, the top and bottom are still slightly different types of wood.
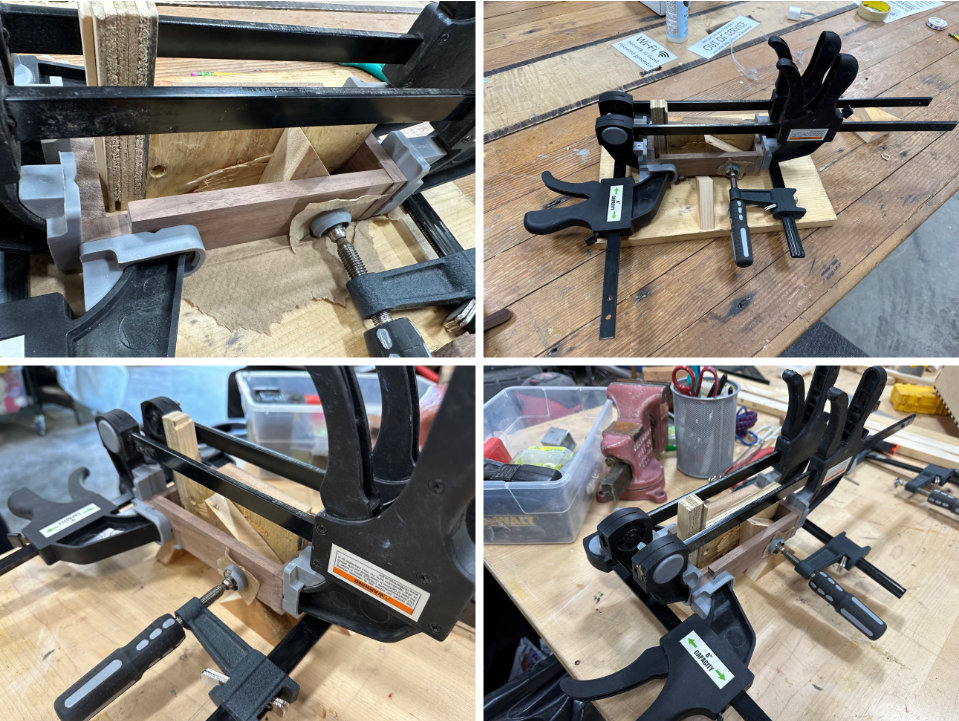
Then it was time for the glue-up! Due to the abnormal configuration of the long walls and short walls where one short wall is outside and one is inside, configuring clamps to keep everything in place while the glue settles was tricky. I used a variety of scraps of wood and folded paper to get the spacing exactly how I wanted, and did multiple dry-fits before actually using glue.
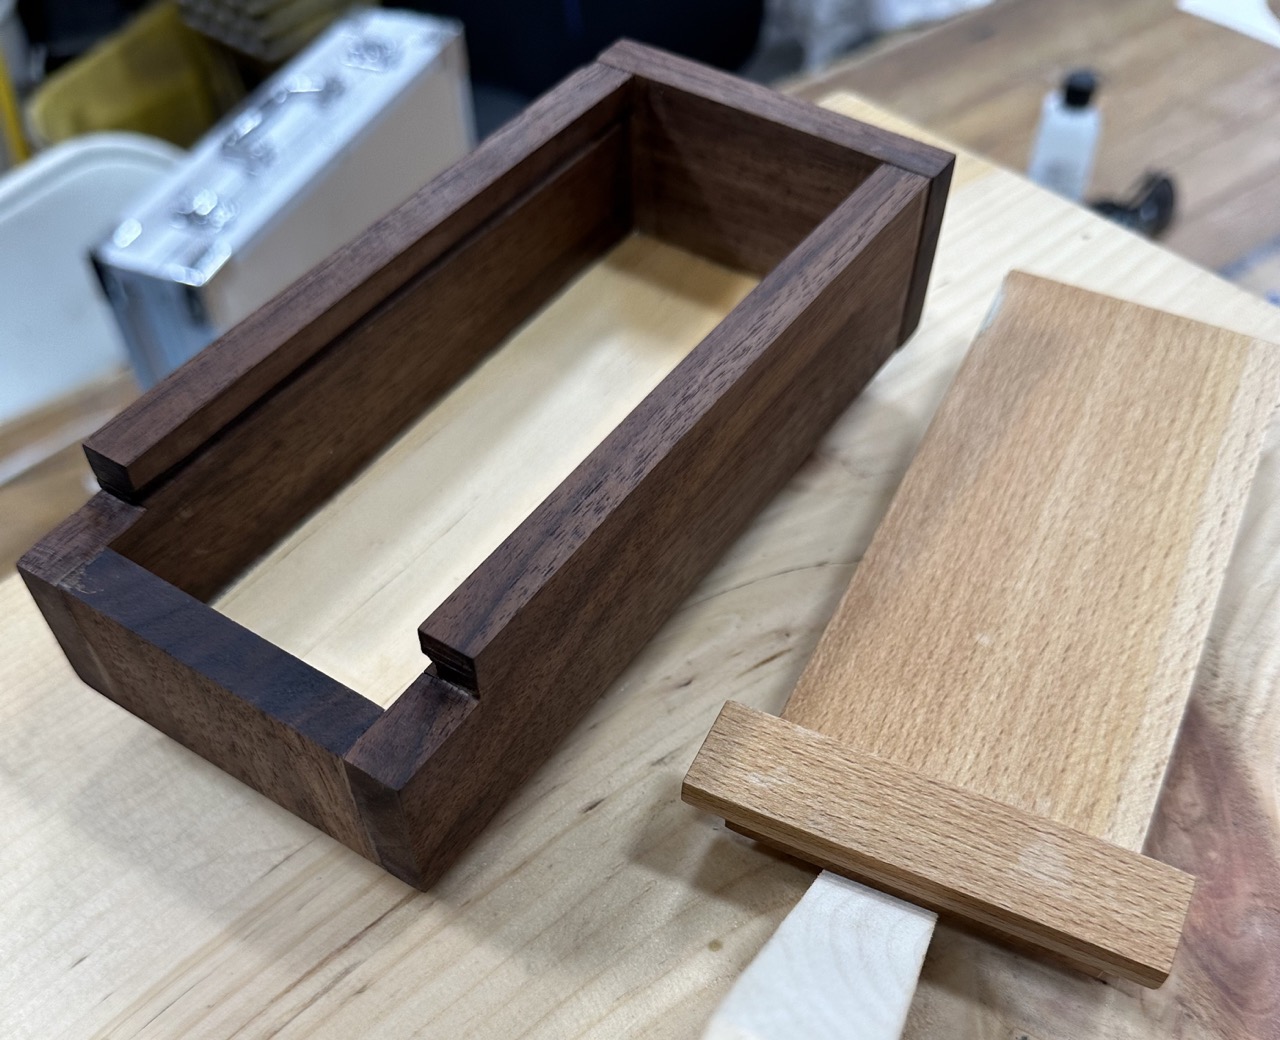
After the glue-up, I did another test fit and realized that, this time, the slide-out component was slightly too thin. While it was able to fit into the grooves without extra sanding of the edges, it would also slip out entirely when the pencil box was turned on its side! Press-fit tolerances are extremely difficult, and I have a even more respect for the mechanical engineers on my project team (and other teams too) who get them to work so well with plastics and metals. In order to solve this problem, I wrapped a bit of masking tape around the back edge of the slide-out component, which gave it just enough thickness to prevent it from slipping out when the box is turned on its side. Look carefully at this video and you might see some of the tape!
The final step was to finish the wood. For my first project, I used a polyurethane protective finish, which I didn’t really like because it was really glossy and was also tricky to apply without leaving bubbles in the final result. This time, I used Danish Oil (specifically one from a brand called “Tried and True” whose can looked like it was from the 90’s), which is Paul’s preferred way to finish woodworking pieces. The oil really brought out the color in both of the woods I used and made them feel much more warm, which is nice.
This was my first time getting to use a woodshop beyond the basic scroll saws in middle school shop class, and I had an absolute blast and am super happy with how the project turned out! With the start of an extremely busy school year and the lack of a car (dad drove it home at the end of summer), I don’t think I’ll be making it to the woodshop very often anymore, but it was certainly a fun place to hang out and build stuff during the summer!